How Wooden 3D Puzzles Help Children Develop Spatial Awareness
A 3D wooden puzzle is more than assembling parts into a finished object; it is training in spatial imagination. This article begins with the leap from flat to three-dimensional, then looks at the mechanics behind mortise-and-tenon joints and at matching diagrams to real objects.
By: BrainWood Academy Editorial Team Published About 8 min read
The Mental Leap from Flat to 3D
Most of the images children meet early on are flat: picture books, cards and flat jigsaw puzzles. A 3D puzzle asks them to do something entirely different: to hold front and back, top and bottom, inside and outside in mind all at once. A small wooden board looks like a rectangle from the front but only a thin line from the side, and that gap is where spatial thinking begins. Children must first grasp that the same object looks different depending on the angle from which it is viewed.
This leap does not happen automatically; it needs plenty of hands-on practice behind it. When a child holds two wooden pieces and tries to join them at right angles, they are testing whether the picture in their head is correct. If it is wrong, the piece will not fit; if it is right, the structure stands firm. This instant feedback is more direct than any verbal explanation, and it turns abstract position words such as above, behind and crossing into experiences a child can confirm with their own hands.
When we design our teaching tools, we pay close attention to how easily parts can be told apart and to a gradual increase in difficulty. Simple 3D structures help children first build basic ideas of front, back, left and right before moving on to multi-layered, multi-sided assemblies. When adults are alongside, there is no need to rush in with the answer; an occasional question, such as which side this piece should go on, lets children describe spatial relationships in their own words, so the thinking is truly absorbed.
Mechanics in Mortise-and-Tenon Joints
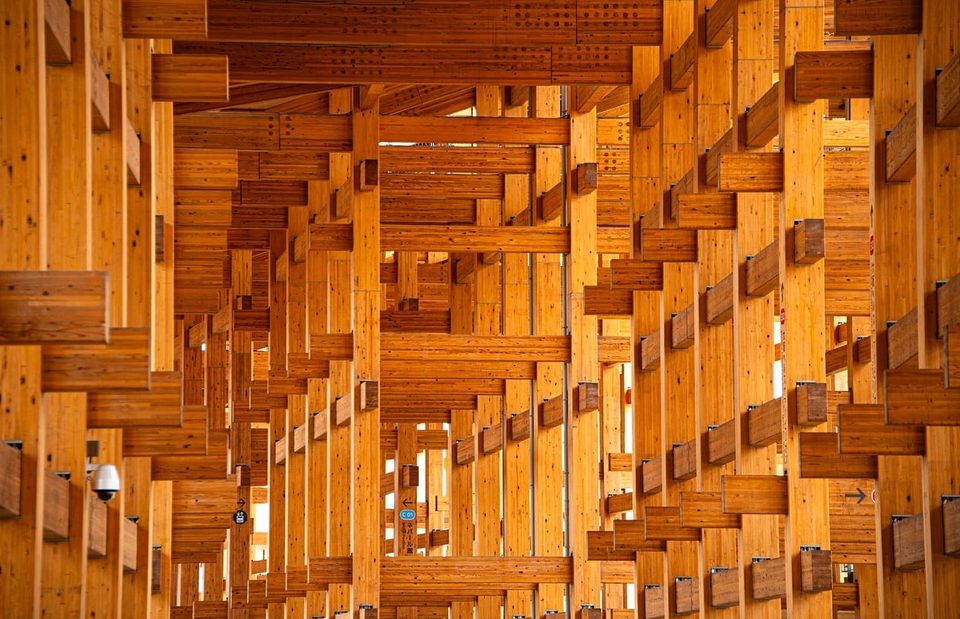
Many 3D wooden puzzles use mortise-and-tenon joints, connecting parts by interlocking protrusions and slots without glue or nails. This ancient technique is a mechanics lesson in itself. Children discover that the tenon must match the mortise in direction, depth and tightness for the structure to hold. If the direction is reversed, the parts may seem to connect but come loose under the slightest force, giving children a direct feel for the relationship between the direction of force and the fit of shapes.
During assembly, children also gradually come to understand support and balance. A structure held by a single joint tends to wobble; once a crosswise connecting piece is added, the whole becomes stable. These observations need no formulas, yet they are already the beginnings of engineering thinking: how weight is transferred, which point bears the load, and why triangles or crossed structures are stronger. What children feel through their hands becomes a solid foundation when they later study physics and structural concepts.
Mortise-and-tenon joints also teach children to respect materials and precision. Wood has a grain, and too much force can damage it, so children learn to control their strength, line things up, and then push the piece in. What this builds is patience and hand-eye coordination, not brute strength. The designer's job is to hold tolerances within a range where a child can work the joint smoothly yet still feel it lock in firmly, so that the joy of success comes from the right method rather than from luck.
- The tenon and the mortise must face the same direction for the joint to fit
- Adding a cross-connecting piece makes the structure more stable
- Line the piece up before pushing it in; never force it
- How tight or loose a joint is directly affects how sturdy the structure is
Matching Drawings to the Real Object
Many 3D puzzles come with assembly drawings, which make excellent learning material. These drawings usually show a three-dimensional object through flat lines or exploded views, so children have to translate the symbols on paper into the wooden pieces in their hands. That ability to translate is the basic skill needed for reading maps, architectural plans, and instruction manuals. At first a child may only understand a single part, and only gradually come to see how the whole drawing corresponds to the whole structure.
An effective matching exercise has children go back and forth between the drawing and the real object. Ask the child to study the drawing first and say which piece to pick up next, then place it in the matching position, and finally look back to check that it agrees with the drawing. This back-and-forth builds the habit of checking and correcting. When they find a mismatch, they work out the difference themselves rather than relying on an adult to point out the mistake, and both observation and judgment are strengthened as a result.
The drawings themselves also need careful design. Steps should be clearly broken down, parts easy to identify, and changes of viewpoint clearly signaled, so that children do not lose interest because they cannot understand the drawing. For younger children, start with drawings that have few parts and a single viewpoint, then move on to multi-view exploded diagrams once they are comfortable. Every step from drawing to real object shortens the distance between imagination and reality.
Assembly Order and Planning Skills
Assembly order is the learning point of a 3D puzzle that is most easily overlooked. The parts of a wooden 3D puzzle often constrain one another, so which piece goes in first and which goes in later directly determines whether the following steps can proceed smoothly. Before starting, children must break the whole structure down into stages in their heads, which is the most basic form of planning practice. When designing our learning tools, we also deliberately give some parts a clear sequence, so that children can work backward from the result to the cause.
When a child puts a part in the wrong direction, or locks a position too early, the 3D puzzle gives feedback in the most honest way possible: the later parts simply will not go in. This feedback carries no blame, yet it is clearer than any verbal reminder. Children discover for themselves that the problem lies in an earlier step, and learn to go back and check rather than force the piece or give up. This habit of tracing back is exactly the ability that matters so much later in problem solving and project work.
If you want to build planning skills more firmly, ask the child to do a few small things before assembly. These preparatory steps need no extra equipment, only a little more time and space. The point is not to get it right the first time, but to help children develop the rhythm of think first, then do, then review when done.
- First sort and lay out all the parts by shape or size
- Ask the child to say which part they plan to assemble first
- Guess in advance which parts are for support and which are for appearance
- Pause partway through assembly to check whether the current structure is stable
Guiding and Waiting When a Child Is Stuck
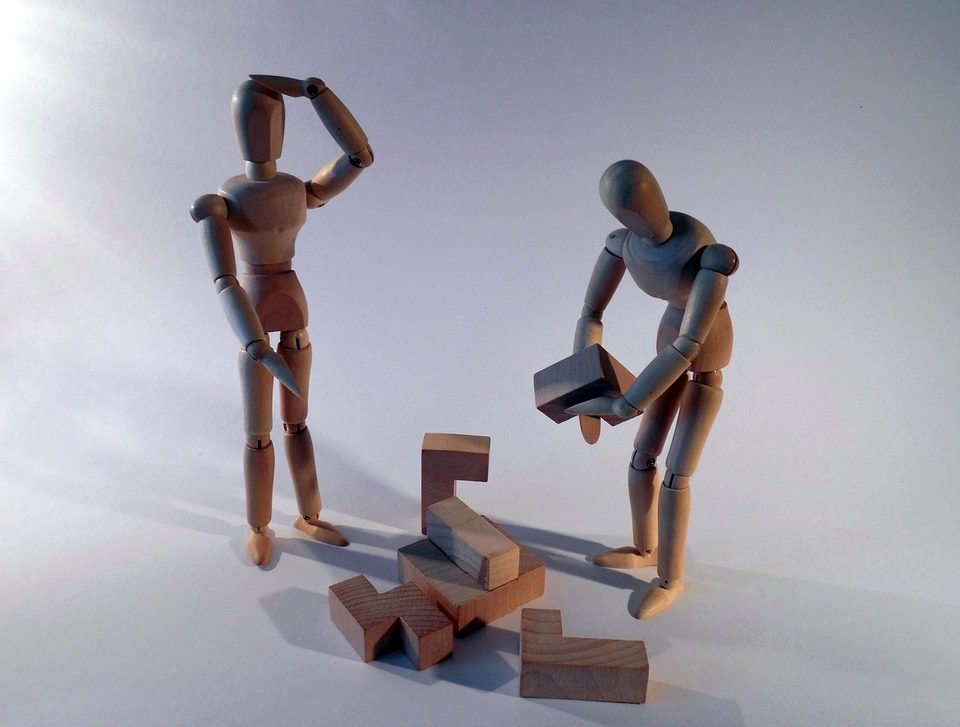
Every child hits a moment of being stuck, when no matter how they turn the piece it will not fit and frustration begins to build. The most common mistake adults make here is to step in and do it for them, or to blurt out the answer. But once the answer is given, the child loses not only the sense of achievement but also the chance to discover the pattern for themselves. Waiting a little longer is often worth more than helping right away.
A better approach is to ask questions instead of giving instructions. For example: Which side of this piece looks most like the remaining gap? Which step just now went smoothly? Questions like these draw attention back to observing and comparing, and away from emotion. In answering, children often find the breakthrough themselves, and learn to turn a vague feeling of frustration into a specific problem.
Of course, waiting is not the same as leaving a child to struggle alone. If the child is clearly tired or discouraged, set the project aside for now and come back to it the next day; there is often unexpected progress. We suggest treating being stuck as part of learning rather than an obstacle to be removed as quickly as possible. Being able to stay calmly beside a child in the state of not knowing how yet is the best support an adult can give.
Taking It Apart and Creating Again
Finishing a 3D puzzle is not the end of the learning. Many children feel satisfied once the puzzle is assembled, yet rarely get a chance to look back and understand what they have done. At this point, invite the child to slowly take the piece apart, removing the parts one by one in the reverse order. Taking it apart is like reviewing the logic of assembly all over again, and the impression it leaves is often deeper.
After the puzzle is taken apart, the really interesting stage begins. The advantage of wooden parts is that they can be reused, so children can try to build different shapes from the same set of parts, or change the structure of one section. Even if what they make differs from the original drawing, as long as it stands on its own and does not fall apart, it is a meaningful piece of creative work. This shift from imitating to creating is exactly the direction our learning tools aim to guide children toward.
We also encourage adults to join in at this stage and imagine together with the child: what would happen if we put it together a different way? Could one of the pieces play a different role? These conversations don't need a right answer, yet they help children see that structure can be understood and reshaped. A 3D puzzle then becomes more than a toy that gets put away once it's finished; it becomes a small laboratory where you can start over again and again.
Key takeaways
-
Plan first, then build The pieces of a 3D puzzle constrain one another, so children have to work out the order of assembly first, which is the most natural practice in planning and backtracking.
-
When stuck, ask more and do less Guide the child with questions about observing and comparing, and allow plenty of time to wait, so they can discover the pattern for themselves.
-
Extend learning through taking apart and recreating Taking the puzzle apart in reverse and trying new ways of assembling it turns imitation into creation and deepens the child's understanding of structure.
This article is for general information only and does not constitute professional advice.